In this article, I show how to set up an IP camera to send emails.
The process is very simple and works with any model, so keep reading...
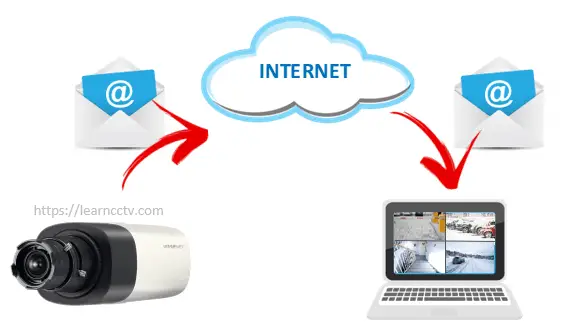
Your IP camera can send emails to alert you when an event such as motion detection, audio detection, or Intelligent video analytics occurs.
It's possible to use your business email account or even the personal one with free services such as Gmail or Hotmail.
You can login to your IP camera and set up the email in less than 5 minutes.
Let's get started.
The information the IP camera needs
To set up your IP camera to send emails you need to have your email information.
The camera will use the SMTP server to send the emails and you can use the same one that is being used by your outlook account (or any other software you use).
Here's an example of the information you need if you use a Gmail account:
SMTP server address: smtp.gmail.com
Encryption type: SSL or TLS
Server port number: 25 or 465
Username (ID): your email
User password: your password
You can Google for the information if you are using a different email account.
How to set up the IP camera
The steps to set up the IP camera to send email are very simple
You just need to open the email setup menu and input the information.
See below an example for a professional IP camera Samsung SNB-8000.
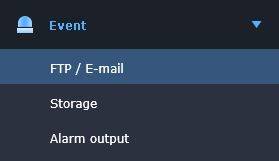
For this camera, the Email configuration is available on the Event menu.
The picture below shows the email configuration screen.
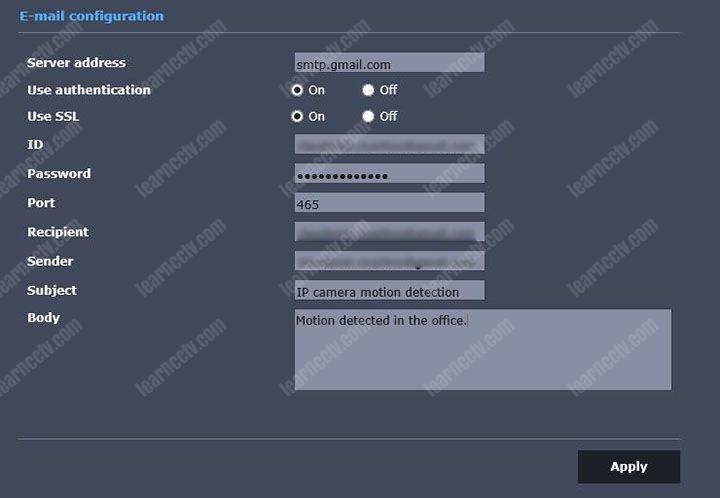
As you can see, it's necessary to enter the Server Address, the ID (email), the password, port (465), and the rest of the information such as recipient and msg.
And that's all. Just click apply and the camera can test the email.
IMPORTANT: Make sure the network IP address configuration is correct.
Set up an inexpensive IP camera to send email
As you can see the steps are pretty simple to set up a professional security camera to send emails. Now let's see an example with a consumer inexpensive model.
For this example, I'm using the battery-powered Reolink Argus PT.
Here are the steps for the camera email setup:
1. Log into the Camera App;
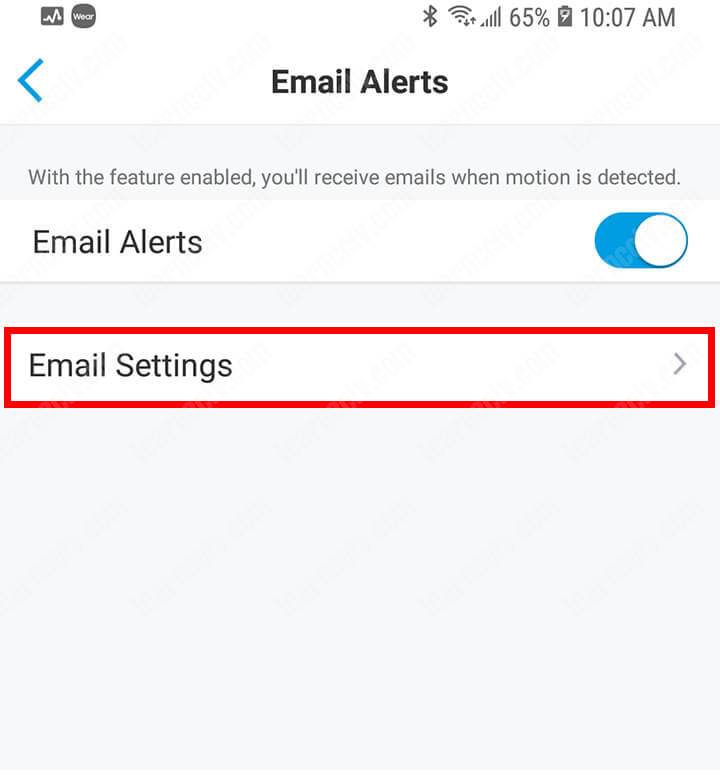
2. Open the menu Email Alerts >> E-mail Settings;
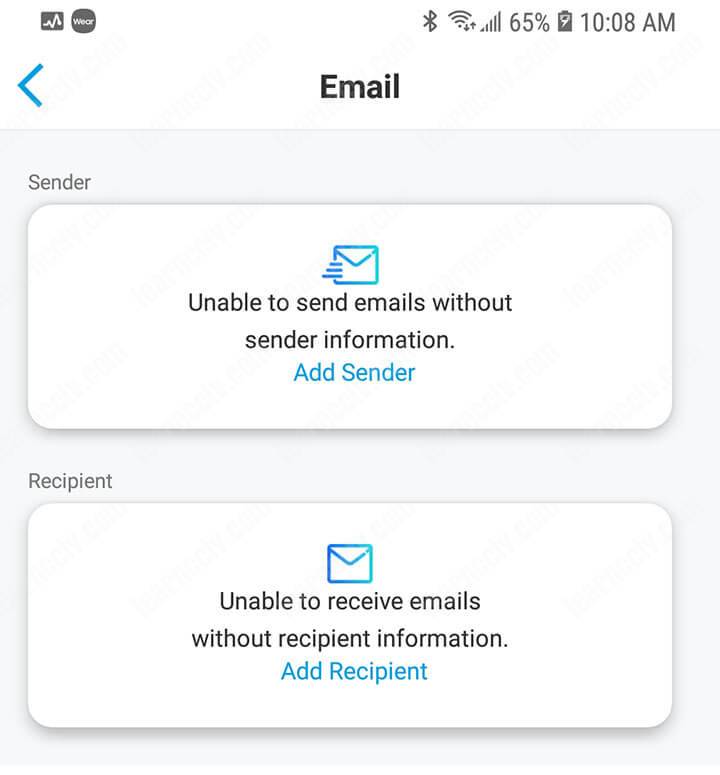
3. Enter the email Sender and Recipient;
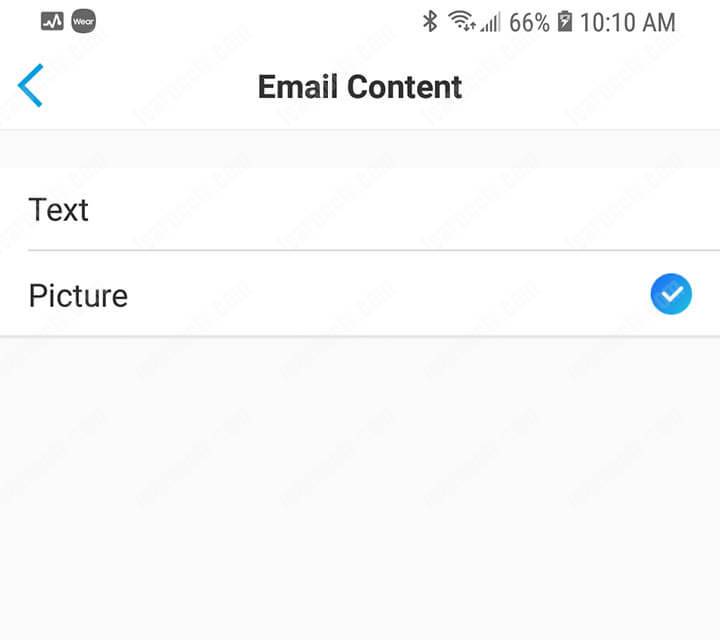
4. Select the type of email (text or picture);
5. Click the button to test the configuration;
6. Check your email inbox;
See below the email configuration details
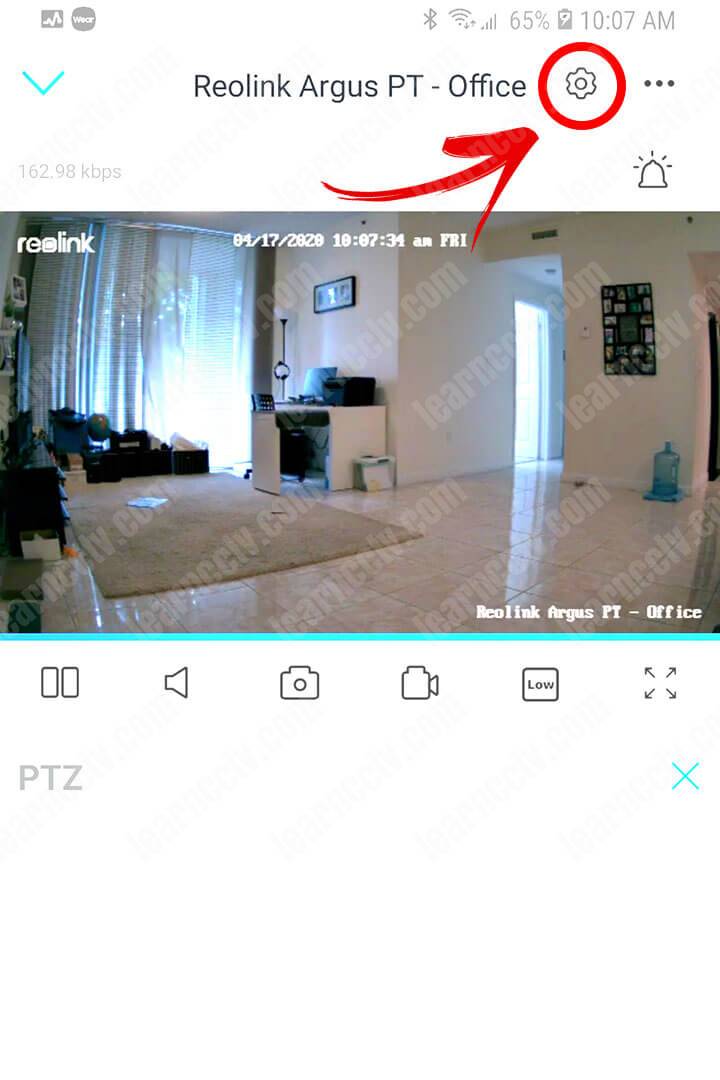
Click the configuration icon on the top
Select Email Alerts
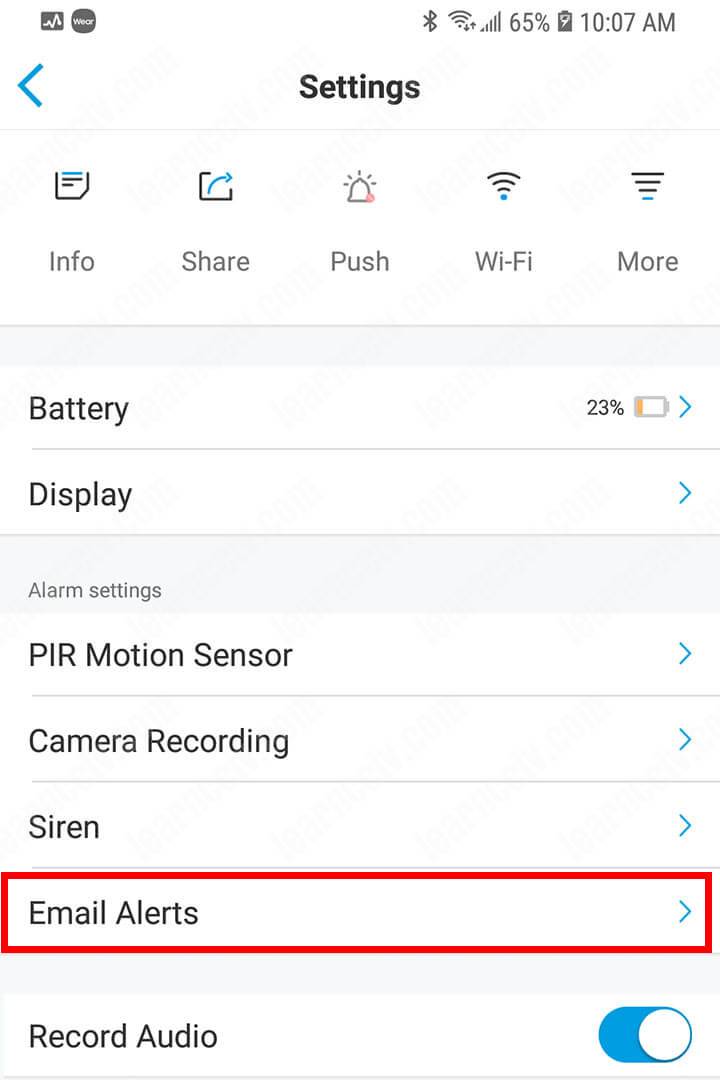
Click the button "Email Settings"
Enter the Sender and Recipient
Make sure you are using the correct SMTP server information.
Enter the Sender Information
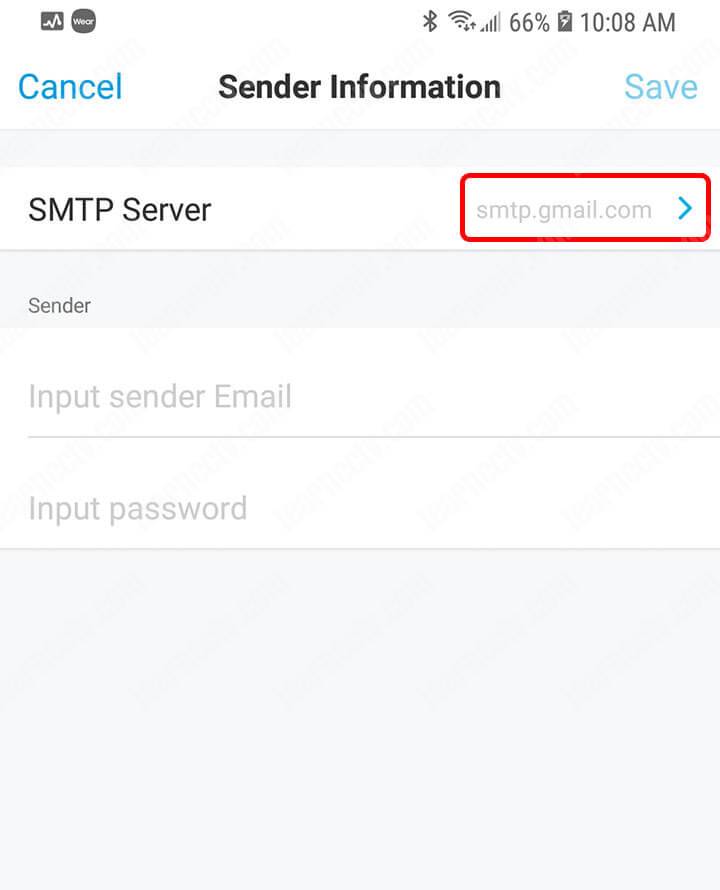
Select the Email Server
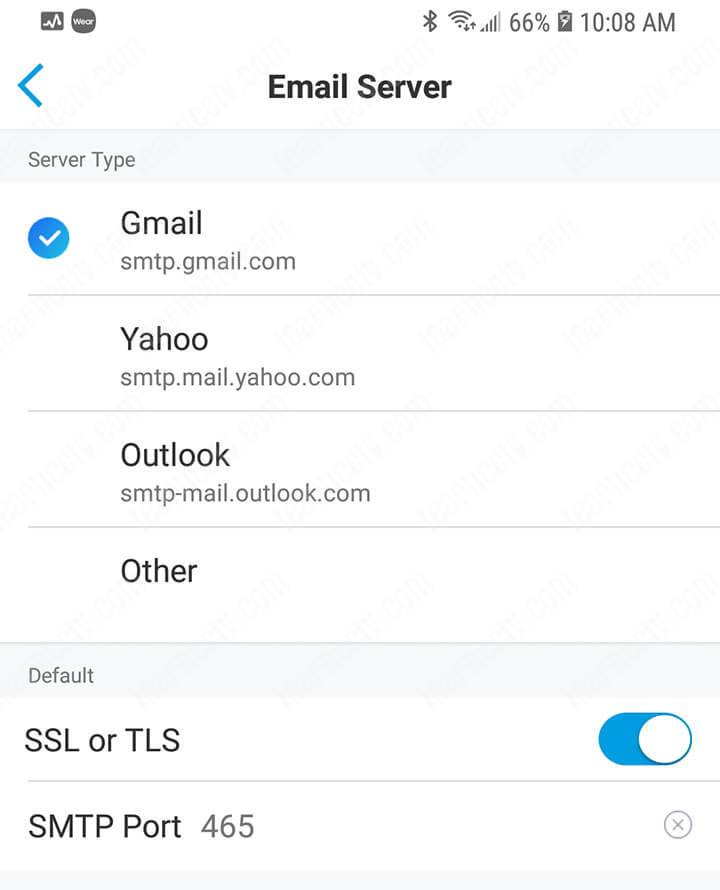
As you can see, the SMTP port is 465 which is the default for the Gmail server.
Enter the recipient information
Input the recipient emails
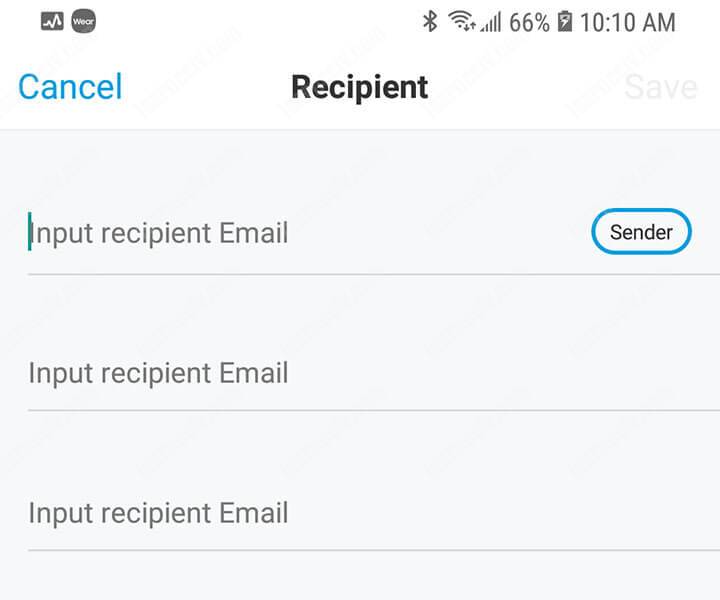
Double-check everything.
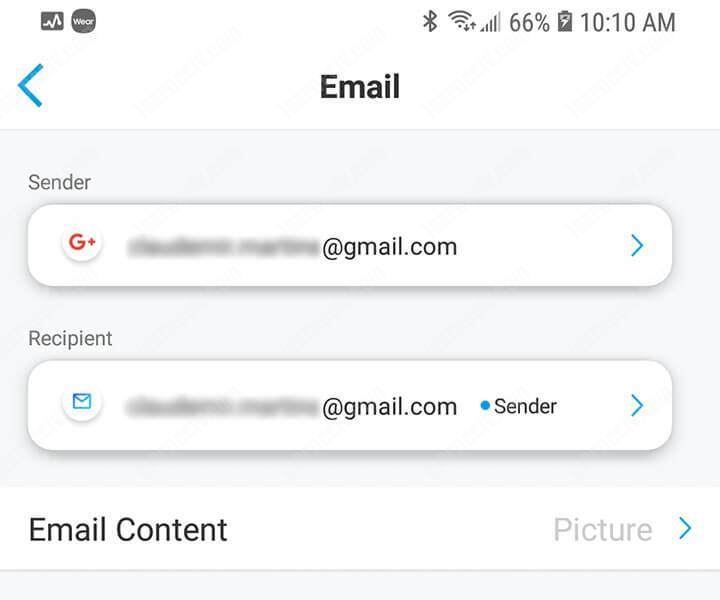
Select the Email Content-Type
Click the " Send Test email" button
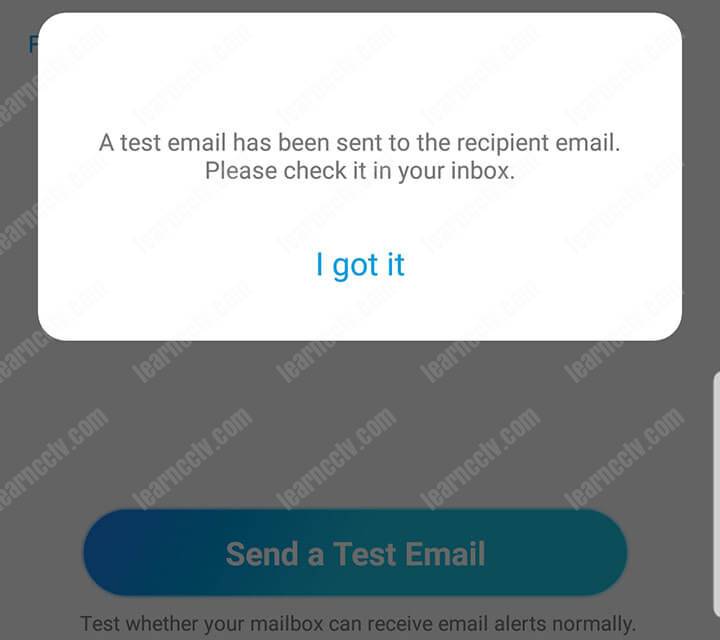
Click the test button and check your mailbox.
Usually, it takes less than 2 minutes to receive the email.

And here I can see the email on my inbox. Pretty cool, huh?
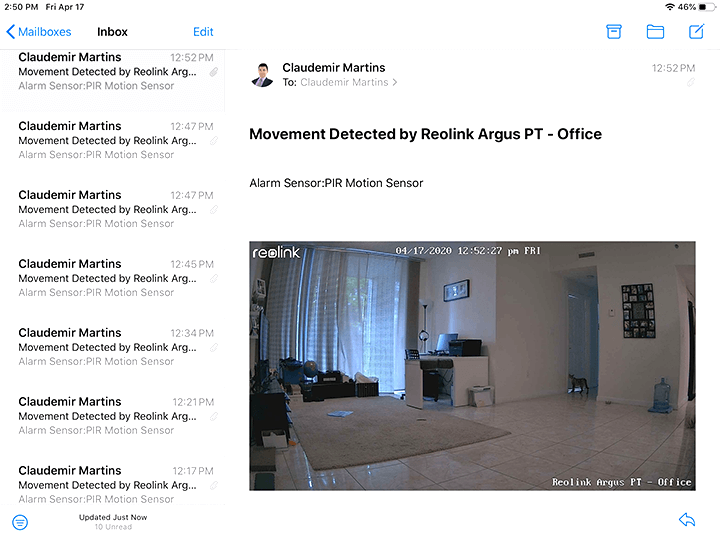
The camera sends the alert based on the motion that is detected by the sensor.
Conclusion
I hope you could learn how to set up an IP camera to send emails.
The process is really simple and anybody can do it.
Just make sure your network is working correctly and everything will be fine.
Please share this article with your friends.